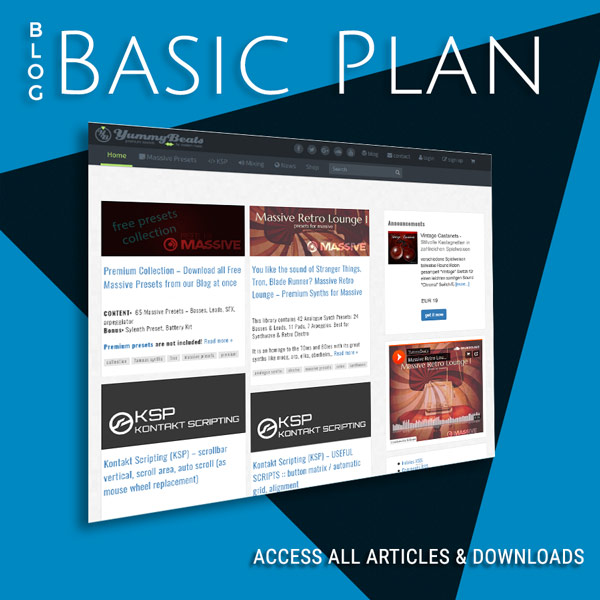
YummyBeats Blog
Kontakt Scripting Tutorials (KSP), Free Massive Presets, Mixing Tips
KSP Scripting (Kontakt) :: Custom UI: Background Image / Wallpaper
The instruments background image is called “wallpaper”. Its’ the basic background texture where all UI elements (knobs, buttons etc) get layered on top. Just to give you an example: we could take our default graphic software and design a realistic synth surface wallpaper (png file) containing “sockets” for some knobs and buttons with detailed shadows, […]
Lady Gaga – Applause, Synths for Massive (Free Download)
CONTENT: 2x Bass, 2x Lead, 2x Pad. Download for free below FILE NAMES: BS – FattyMoog (applause).nmsv, BS – Thinna (applause).nmsv, LD – ImPulsive (applause).nmsv, LD – Slimma (applause).nmsv, LD & PD – MeGaga I (applause).nmsv, LD & PD – MeGaga II (applause).nmsv
KSP Scripting (NI Kontakt) :: BASICS :: Variables, Arrays, Constants
Like with any other programming languages in KSP there are also variables, arrays and constants. They can only be declared inside the on init callback and can then be used throughout the whole script. So they are all on global scope by default and can even be used inside custom functions.
KSP Scripting (NI Kontakt) :: BASICS :: Callbacks & Basic Structure
The Basic code structure is very simple. We basicaly put most of our code into callbacks All callbacks look like this on <callback> … end on code inside callbacks gets executed when specific events happen. e.g. playing a note on our keyboard always executes the “on note” callback. callbacks are vastly needed to communicate with […]
KSP Scripting (NI Kontakt) :: BASICS :: Create a Resource Container & Publishing your Release
Before we start scripting we should create a resource container where we put in all the files we need for our instrument (e.g graphic files or impulse responses etc.)
Calvin Harris (ft. Ellie Goulding) – I Need Your Love, Synths for Massive (free download)
CONTENT: Bass, Lead, Kick (wav). Download for free below FILE NAMES: BS – Meat I (Need Your Love).nmsv, BS – Meat II (Need Your Love).nmsv, LD – SawPulse I (Need Your Love).nmsv, LD – SawPulse II (Need Your Love).nmsv, Kick01_ch-need-love_yummybeats.wav